
Section 1: Planning and Soil Preparation
Before planting your lawn, it’s important to prepare the area properly. Healthy grass starts with healthy soil.

Step 1: Test the Soil
- Soil Testing: Purchase a soil testing kit to check for pH balance and nutrient levels. Grass typically grows best in soil with a pH between 6.0 and 7.0.
- Amend the soil: If the pH is too high or too low, amend the soil with lime (to raise pH) or sulfur (to lower pH). You can also add organic matter such as compost to improve soil texture and drainage.
Step 2: Remove Weeds and Debris
- Clear the area: Remove any weeds, stones, or old grass from the lawn area. A rototiller or hoe can help break up the soil and remove roots.
- Level the ground: Rake the soil to make it smooth and level. Any low spots can cause water pooling, while high spots may dry out too quickly.
Step 3: Add Fertilizer
- Apply starter fertilizer: Use a lawn starter fertilizer rich in phosphorus to promote root growth. Follow the recommended application rate on the packaging.
Pro Tip: Let the soil settle for a week after preparing it to ensure it is compacted evenly before planting seeds.
Section 2: Selecting and Planting Grass Seeds
Choosing the right type of grass seed for your region and soil type is crucial to achieving a lush lawn.
Step 1: Choose the Right Grass Seed
- Cool-season grasses: Ideal for cooler climates, such as Kentucky bluegrass, fescue, or ryegrass.
- Warm-season grasses: Ideal for hotter climates, such as Bermuda or Zoysia,.
Ensure that the grass type is suitable for your region’s climate, soil type, and sun exposure. Some grasses do better in shady areas, while others thrive in full sunlight.
Step 2: Sow the Seeds
- Even seed distribution: Use a broadcast spreader for even seed coverage. Apply half the seeds walking in one direction, then the other half walking perpendicular to the first pass (creating a grid-like pattern).
- Rake the soil: Lightly rake the soil to cover the seeds with a thin layer of soil, ensuring they are about 1/4 inch deep.
- Roll the soil: Use a lawn roller to press the seeds gently into the soil for good contact. This step improves germination.
Section 3: Watering and Care During Germination
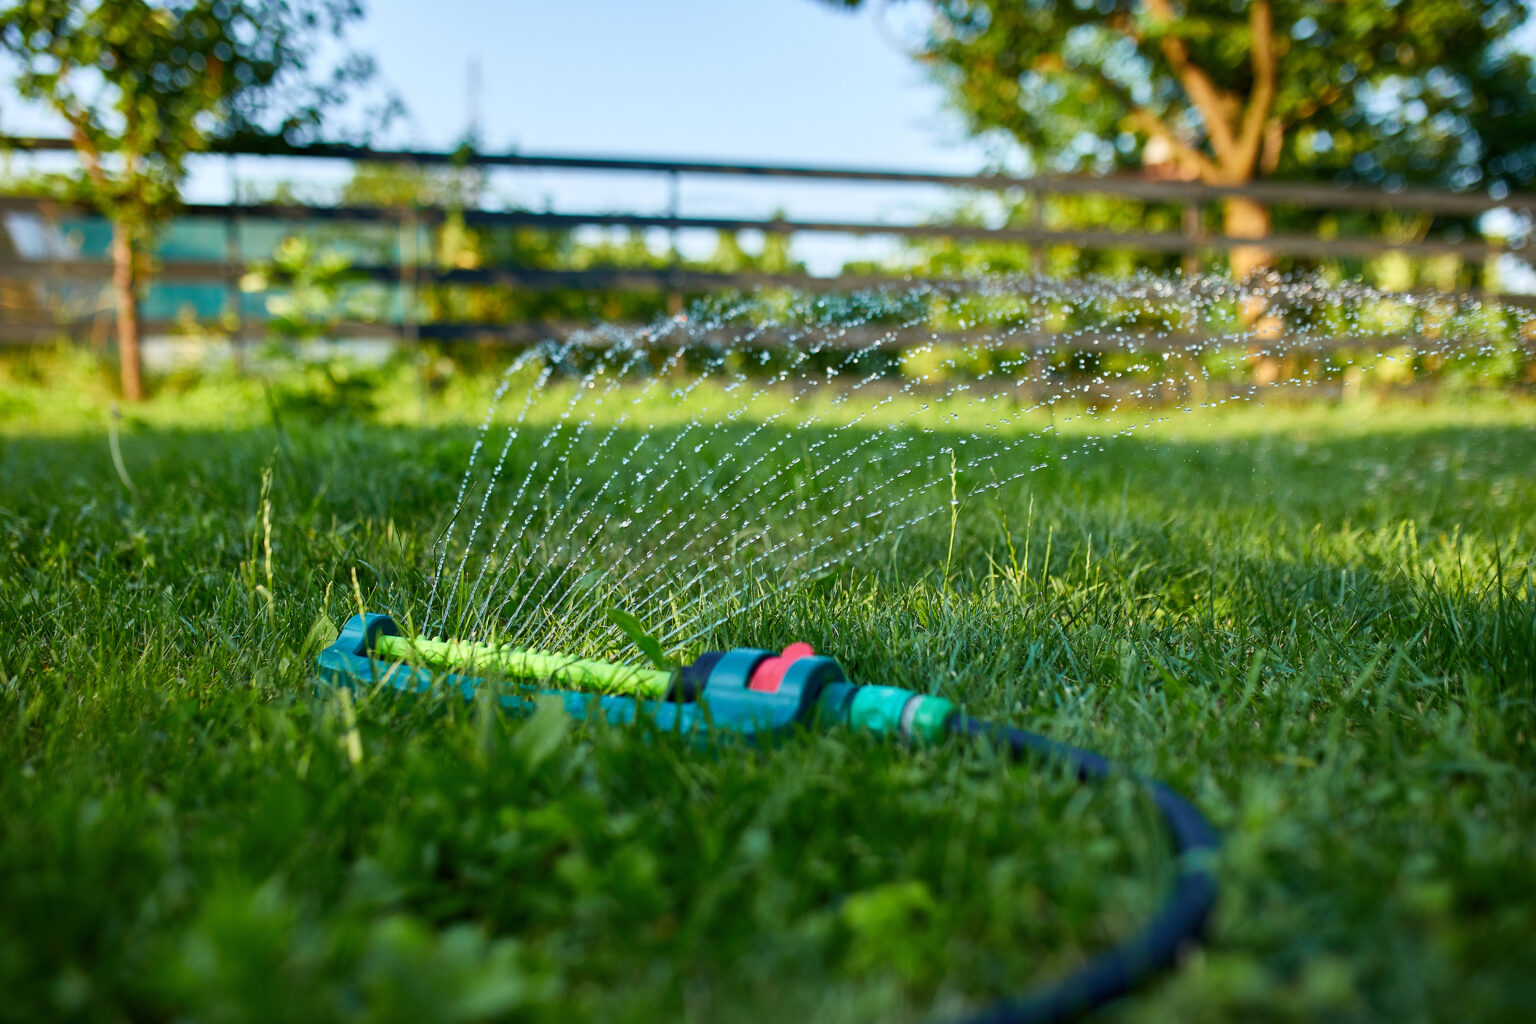
Proper watering during germination is crucial for ensuring that the seeds take root and grow into healthy grass.
Step 1: Water Frequently
- Light watering: For the first 2-3 weeks, water lightly but frequently, keeping the soil moist without oversaturating it. Aim for watering 2-3 times a day in small amounts.
- Avoid puddles: Do not allow water to pool on the surface, as this can drown the seeds.
Step 2: Protect the Seedlings
- Avoid foot traffic: Keep people and pets off the newly planted area to avoid damaging young grass.
- Cover with straw: In windy or particularly sunny areas, consider covering the seeded area with a thin layer of straw to help retain moisture and protect against erosion.
Pro Tip: Once the grass seedlings are about 1-2 inches tall, you can reduce watering to once a day, but keep the soil moist until the grass is fully established.
Section 4: Fertilizing and Early Lawn Care
Once your grass starts growing, proper fertilization and mowing practices will help strengthen it.
Step 1: Fertilize After Germination
- Wait for germination: Once the grass has grown to about 3-4 inches tall, apply a nitrogen-rich fertilizer to boost growth. Nitrogen promotes strong, green grass.
- Follow-up fertilization: Every 6-8 weeks, apply a balanced fertilizer to maintain lawn health throughout the growing season.
Step 2: Mow the Grass Properly
- First mow: Wait until the grass reaches a height of 3-4 inches before mowing for the first time. Set your mower blade high to avoid cutting too much at once.
- Mowing technique: Always cut no more than 1/3 of the grass blade’s length at a time. This prevents stress on the grass and promotes deeper root growth.
Pro Tip: Use sharp mower blades to ensure a clean cut. Dull blades can tear the grass, leaving it vulnerable to disease and pests.
Section 5: Watering and Ongoing Maintenance
Proper watering is essential for maintaining a healthy lawn, especially in the growing season.
Step 1: Water Deeply and Infrequently
- Deep watering: Once your lawn is established, water deeply about 1-2 times per week. This encourages deeper root growth and makes the lawn more drought-resistant.
- Timing: Water early in the morning to reduce evaporation and give the grass time to dry before nightfall. This helps prevent fungal growth.
Step 2: Weed Control
- Manual weeding: Remove any weeds as soon as you spot them to prevent them from spreading.
- Use pre-emergent herbicide: Apply a pre-emergent herbicide in the spring to prevent weed seeds from germinating.
Step 3: Aerate the Lawn
- When to aerate: Aerate your lawn once or twice a year, preferably in the fall or spring. Aeration helps reduce soil compaction, improves water penetration, and encourages root growth.
- How to aerate: Use a core aerator to remove small plugs of soil from the lawn. This allows oxygen, water, and nutrients to reach the grass roots.
Section 6: Dealing with Common Lawn Problems
Even with the best care, your lawn may encounter some common problems. Here’s how to address them:
Problem 1: Bare Spots
- Re-seed: To fix bare spots, rake the area to loosen the soil, apply a thin layer of compost, and then re-seed. Water the area regularly until the grass is re-established.
- Sod repair: For larger bare patches, you can lay sod instead of seeding to get faster results.
Problem 2: Thatch Buildup
- Dethatching: If your lawn develops a thick layer of thatch (dead grass and organic matter), use a dethatching rake or machine to remove it. Thatch can prevent water and nutrients from reaching the grass roots.
Problem 3: Yellow or Brown Patches
- Check for pests or disease: Yellow or brown spots can indicate lawn disease, pests, or poor watering habits. If pests are the issue, use an appropriate insecticide. For diseases, consider applying a fungicide, but also review your watering schedule to avoid overwatering.
Pro Tip: Keep a lawn care journal to track your maintenance schedule, weather conditions, and any issues that arise. This will help you troubleshoot problems and adjust your care routine over time.
Section 7: Seasonal Lawn Care: Adjusting for Spring, Summer, and Fall

Spring Lawn Care
- Start fertilizing: Apply a balanced fertilizer in early spring to give your lawn a nutrient boost.
- Weed prevention: Use a pre-emergent herbicide to prevent weeds before they start growing.
Summer Lawn Care
- Adjust mowing height: In the summer heat, raise the mower blade to leave the grass longer. Taller grass shades the soil and reduces water evaporation.
- Water deeply: Make sure your lawn gets about 1-1.5 inches of water per week.
Fall Lawn Care
- Aerate and overseed: Aerating in the fall allows nutrients to reach the roots before the grass goes dormant. Overseed any thin or bare areas.
- Fertilize before winter: Apply a slow-release fertilizer in late fall to help the grass store energy for the winter months.
To conclude
Achieving the perfect lawn requires a combination of proper preparation, careful seeding, watering, mowing, and ongoing maintenance. By following these steps, you’ll cultivate a lush, green lawn that enhances your garden’s beauty and remains healthy throughout the seasons. With patience and attention to detail, your lawn will thrive, providing a beautiful, serene space for years to come.

Pingback: Top 5 Cordless Lawnmowers in 2024 - beaujardin.co.uk
Pingback: The advantage and disadvantage of Cordless Lawnmowers - beaujardin.co.uk
Pingback: The Best Lawn Mower Picks: 5 Top Models - beaujardin.co.uk