
Is it easy to create stripes in my garden ?
Stripes in a garden or lawn are a hallmark of well-maintained outdoor spaces, commonly seen in professional landscapes and sports fields. They add visual appeal, giving a sense of dimension and structure to your yard. While achieving such a polished look may seem like a high-maintenance task, it’s surprisingly simple with the right tools and techniques. In this guide, you’ll learn how to create striking lawn stripes, incorporate striped patterns into your planting beds, and maintain those clean lines for lasting impact.

Which type of Lawn Mower should I use ?
For those with larger lawns or seeking a higher-end solution, cylinder lawnmowers with rear rollers are considered the top choice. Known for their precision, these mowers create sharp, well-defined stripes, giving your lawn the polished look of a sports field or golf course. Although they are generally used by professionals, they are perfect for anyone aiming for a perfectly striped finish
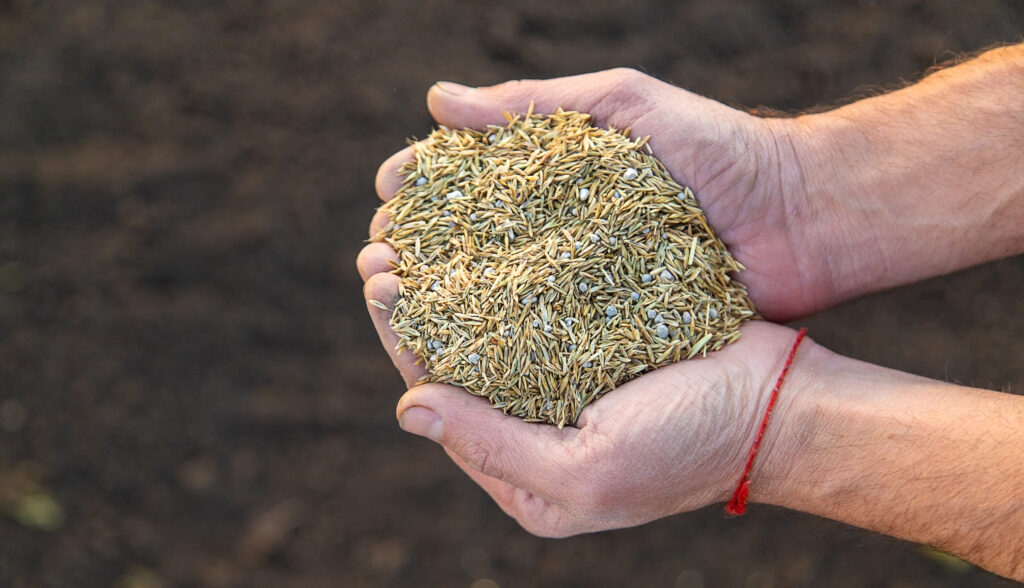
Do I need a specific type of grass ?
Achieving professional-looking stripes requires using the right tools and selecting the appropriate type of grass. Not all grass types are equally suitable for striping. For instance, cool-season grasses such as Kentucky bluegrass, ryegrass, and fescue are better suited for striping because they are more pliable and resilient. Warm-season grasses like Bermuda and Zoysia are tougher and may not display stripes as clearly.
Which are the steps to follow to get stripes ?
Creating stripes in your lawn involves more than just mowing in straight lines. The technique requires careful planning, consistent movement, and attention to detail. Here’s a step-by-step guide on how to get those sharp, professional-looking stripes in your garden lawn.
Step 1: Start with a clean cut
Ensure your lawn is freshly mowed. Make sure the grass is at a uniform height before you start striping. Mow the entire lawn in one direction first to ensure an even cut.
Step 2: Decide on your stripe pattern
Traditional stripes run parallel across the lawn, but you can experiment with different designs like checkerboards or diamonds. Start with simple straight lines if you’re a beginner.
Step 3: Mow the first stripe
Pick a straight starting point. Use a landmark, such as a fence or path, to guide you in a straight line. Mow forward and when you reach the end of the line, turn your mower around and mow the next line in the opposite direction.
Step 4: Maintain consistency
Keep your lines as straight as possible and overlap slightly as you mow back and forth to ensure that no grass is left uncut between stripes. The overlapping helps create even, defined lines.
Step 5: Edge the lawn for a neat finish
Once you’ve finished mowing the stripes, edge your lawn for a clean, professional look.
Pro Tip: The more you mow in a certain direction over time, the more pronounced your stripes will become. Repeating the same pattern in future mows will “train” the grass to hold the stripe shape longer.
Here is a link where you will be able to find great tools for yourself.
It's your time to shine !
With the few steps we provided you, you should be able to have this beautiful garden you always dreamed of.
You got this!

Want to bring the best out of your garden ? Check out our guide on How to Get the Best Lawn in Your Garden: A Complete Step-by-Step Guide